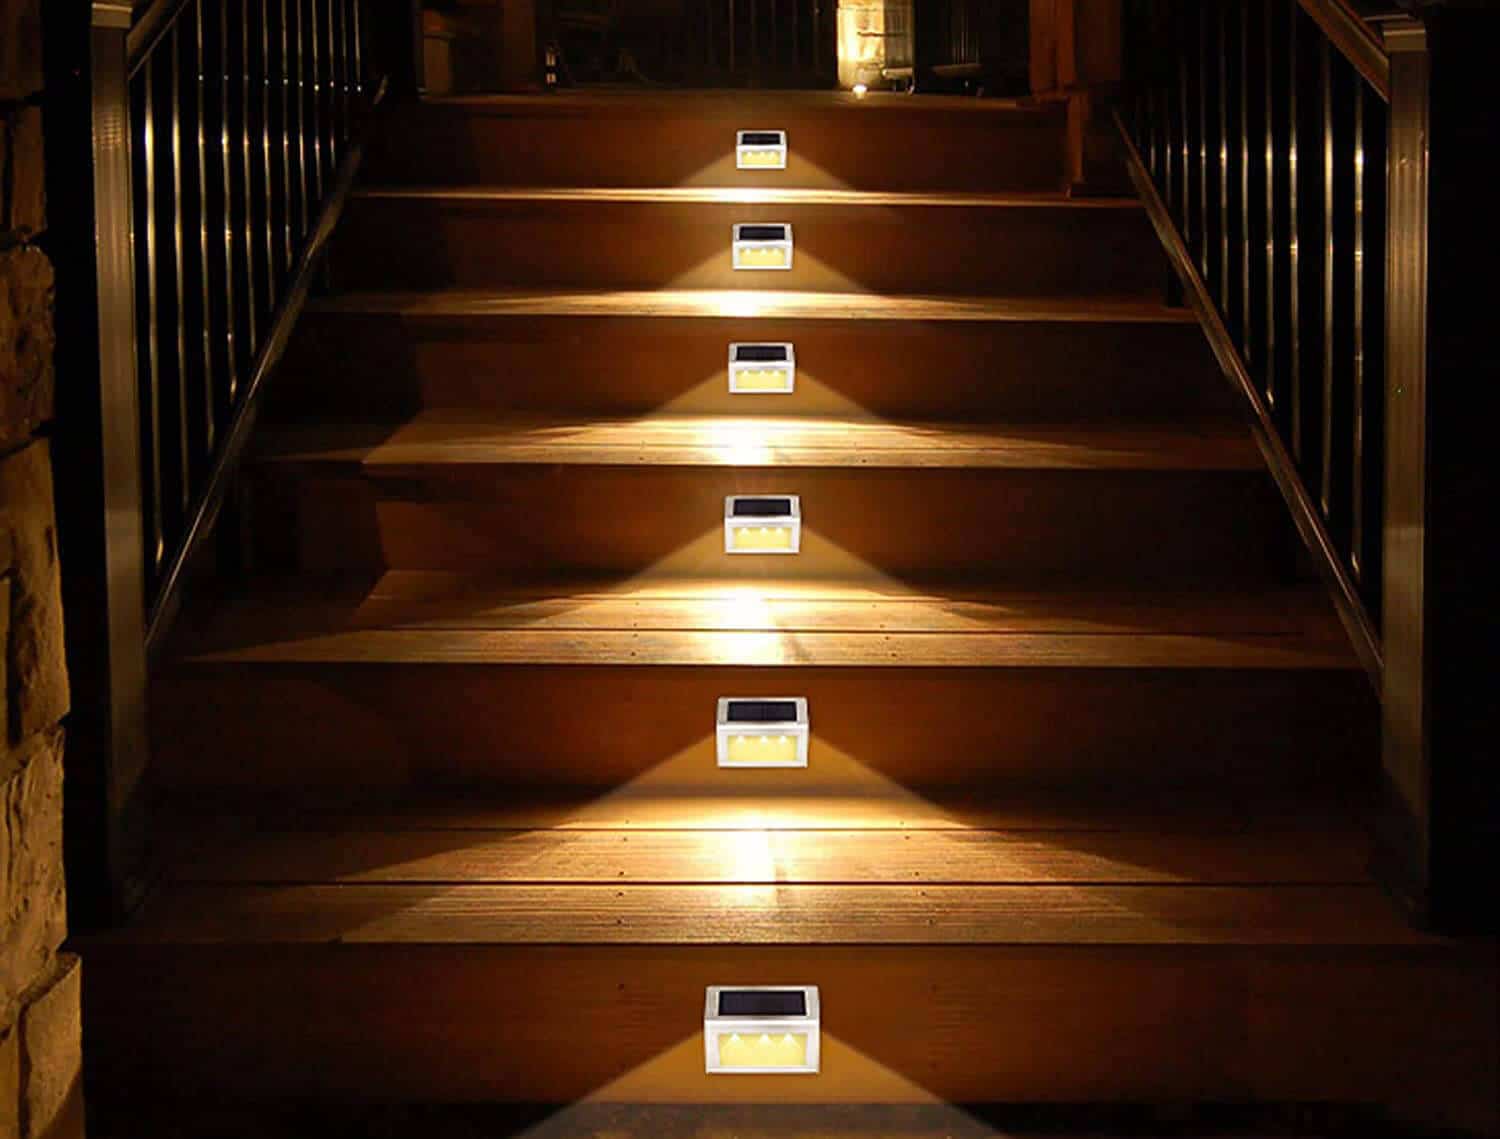
Best Solar Charge Controller for Solar Street Light
As the traditional energy is gradually decreasing in the process of being used, people have to develop more green energy, such as wind energy, hydropower, solar energy and so on. In our daily life, the most common use is solar energy, such as solar street light, solar water heaters and so on. These products must include solar charge controllers.
What is the use of solar charge controller? And how to choose the best solar charge controller in use? Follow me below.
Contents
Why Use a Solar Charge Controller?
Sunlight reaching the surface of the earth are often affected by weather changes. Sunny, full of sunshine. Rainy day, no sunshine. So, the solar energy received on the ground will be very different.
In addition, since the earth is a sphere and rotated at an oblique angle, the solar radiation received at different latitudes is different. Solar radiation in low latitudes is higher than that in high latitudes. In the equatorial region, sunlight shines almost vertically. In the Arctic and Antarctic, the sun is inclined, and the polar regions have very little heat.
The experience tell us that the area illuminated by oblique light will be large; the area illuminated by vertical light will be small. With the same amount of light, if the irradiated area is large, the heat will be dispersed; if the irradiated area is small, the heat will be concentrated.
The distribution of the total global annual radiation reaching the surface is basically in a belt shape. In the equatorial region, the total annual radiation is not the highest due to cloudy weather. In the subtropical high pressure zone of the northern and southern hemispheres, especially in the continental desert areas, the total annual radiation is relatively large, and the maximum is in northeastern Africa.
Because the solar energy received by the ground is different, the solar controller is used to control the multi-channel solar cell array to charge the battery. In order to improve the charging efficiency and avoid the damage of overcharge and over-discharge to the battery, the monitoring and protection functions of the controller must be used.
Almost all solar power generation systems powered by batteries need a solar charge and discharge controller.
The role of solar controller in a solar street light system
The full name of the solar controller is the solar charge and discharge controller. It is an automatic control device used in the solar power generation system.
The role of the solar charge and discharge controller is to adjust the power, the power delivered from the solar panel to the battery. The overcharge of the battery will at least significantly reduce the battery life and damage the battery until it cannot be used normally.
The most basic function of the solar charge and discharge controller is to control the battery voltage and open the circuit, and that is, when the battery voltage rises to a certain level, stop the battery charging. The old version of the controller mechanically completes the opening or closing of the control circuit, stopping or starting the power delivered to the battery by the power supply.
In most PV systems, a controller is used to protect the battery from overcharge or over-discharge. Overcharging may vaporize the electrolyte in the battery and cause malfunctions, while over-discharging may cause premature battery failure. Both overcharge and over-discharge may damage the load. Therefore, the controller is one of the core components of the photovoltaic power generation system and the main part of the BOS (Balance of System).
In the small PV system, the controller is also called the charge and discharge controller, which mainly plays a role in preventing the battery from overcharging and over-discharging.
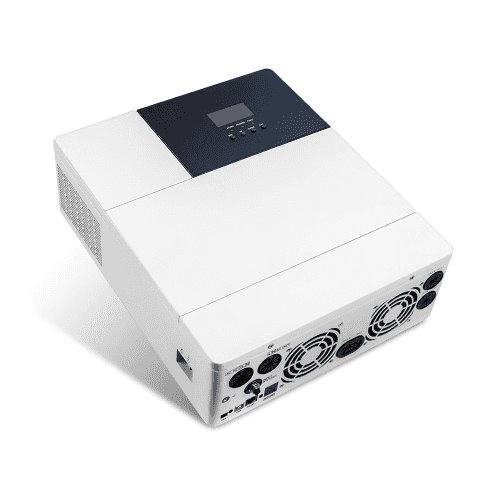
In large and medium-sized PV systems, the controller is responsible for the energy balance management. Simultaneously, it protects the normal operation of the battery and the entire PV system, and also displays the working status of the system. The controller can be a stand-alone device, or it can be integrated with the inverter.
The Main Functions of a Solar Charge Controller
Prevent the battery from overcharging and over-discharging and prolong the battery life span.
Prevent the polarity of the solar panels and battery from being reversed.
Prevent internal short circuits of loads, controllers, inverters and other equipment.
Breakdown protection caused by lightning strikes.
PV system working status display.
PV system information storage (system operation Log).
Optimized system energy management.
PV system failure alarm.
PV system telemetry, remote control, remote signaling functions, etc.
Three Stages of Solar Controller Charging
The general charging process of the solar controller is: first, boost charging, and then after the boost charging is completed, first use floating charging, and then perform equalizing charging.
What is Boost Charging?
When the battery is charged to the set value of the boost voltage, the solar controller continuously adjusts the charging current to maintain the battery voltage at the boost voltage set point. This prevents the battery from overheating and prevents the battery from producing gas. The accumulative time that the battery stays in the boost charging level is 120 minutes, and then it goes to the floating charging phase.
What is Floating Charge?
When the boost charge is completed, the solar controller will switch to the floating charge control phase. When the battery is fully charged, there will be no more electrochemical reactions. All the charging current will be converted into heat and gas. At this time, it enters the floating charge stage, and the floating charge stage is charged with a smaller voltage and current, so that while the temperature of the battery and the gas evolution are lowered, the floating charge stage performs very weak charging.
The purpose of floating charge is to compensate the power consumption of the battery due to self-discharge and the small load of the system, while maintaining the full power of the battery. During the floating charge stage, the load can continue to obtain power from the battery. If the load of the system exceeds the solar charging current, the solar controller will no longer be able to maintain the battery voltage at the floating charge setting value. If the battery voltage is lower than the boost charge setting value, the controller will exit the floating charge stage and return to the boost charge stage.
What is Equalizing Charging?
Some certain types of batteries benefit from regular equalizing charging, which can stir the electrolyte, balance the battery voltage, and complete the chemical reaction. Equalizing charge increases the battery voltage to higher than the standard supplementary voltage, and vaporizes the battery electrolyte.
If it detects that the battery is over-discharged, the solar controller automatically controls the next charge for equalizing charging, and the equalizing charging time is 120 minutes. Equalization charge and boost charge are continuously repeated during a full charge process to avoid excessive gas evolution or overheating of the battery.
There are two common used charging method of solar charge controller in recent years.
PWM Charging Method Solar Charge Controller
What is The PWM Charging Method?
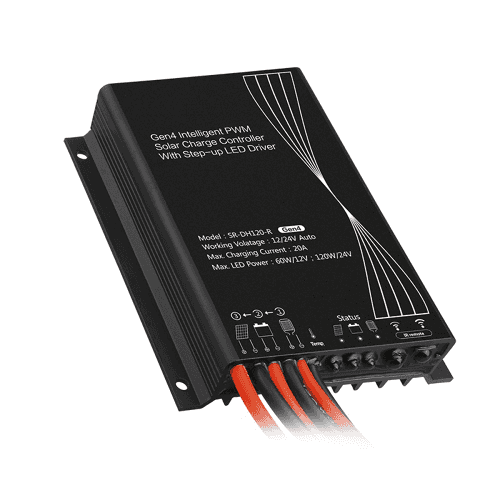
The solar controller adopts an advanced series pulse width modulation (PWM) method, and a wide range of 0 to 100% PWM adjustment can quickly and stably charge the battery under any system conditions.
The PWM charging method is to charge the battery with a pulse current that automatically changes the duty cycle. In this way, the pulse charging can make the battery more reliable and fast to fully charge the battery. The off period allows the oxygen and hydrogen generated by the chemical reaction of the battery to recombine. But being absorbed, the concentration polarization and ohmic polarization are naturally eliminated, thereby reducing the internal pressure of the battery and allowing the battery to absorb more power. The pulse charging method allows the battery to have a sufficient response time, reduces the amount of gassing, and improves the battery’s acceptance rate of the charging current.
However, modern charge and discharge controllers use pulse width modulation (PWM) to slowly reduce the amount of power delivered to the battery when the battery is slowly approaching saturation. This PWM controller greatly reduces the load of the battery, and reaches a full state of charge, which extends the service life of the battery. This kind of controller can make the battery fully reach the fully charged state (also called floating charge).
MPPT Charging Method Solar Charge Controller
What is The MPPT Charging Method?
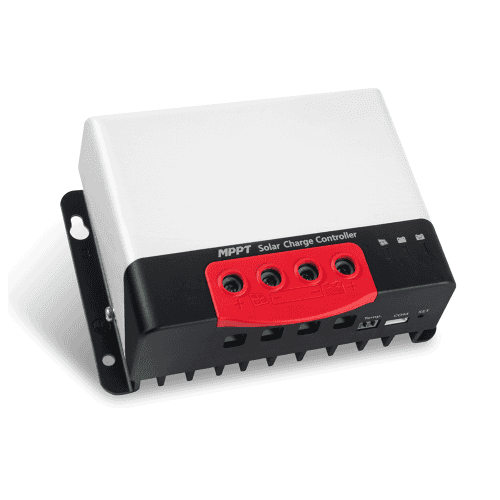
MPPT controller uses the maximum power(UI) point tracking technology to extract the maximum power from the solar array to charge the battery. The maximum power point tracking method is completely automatic and does not require user adjustment. When the maximum power point of the array changes with environmental conditions, the MPPT controller automatically tracks the maximum power point of the array to ensure that the maximum energy of the day is obtained from the solar array.
Features of Maximum Power Point Tracking Technology (MPPT)
In most cases, the maximum power point tracking technology will increase the charging current.
For example, a system may have 8A of current flowing from the solar array to the MPPT controller, and 10A of current flowing from the MPPT controller to the battery.
Ideally, the energy input to the MPPT is equal to the energy output.
P=U.I
That is, input voltage x input current = output voltage x output current.
If the maximum power point voltage Vmp of the entire solar array is greater than the battery voltage, the current of the battery is also proportionally greater than the output current of the solar array.
The greater the difference between the Vmp voltage and the battery voltage, the greater the increase in current.
MPPT Advantages Compared With Other Controllers
The graph below shows the current-voltage and output power curve of a typical solar cell with a nominal rated voltage of 12V.
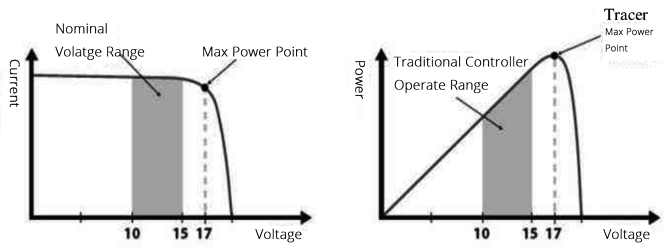
The maximum power point voltage Vmp of the solar photovoltaic array is the voltage at which the output power (voltage x current) is the maximum. It is shown on the left at the “knee” in the I-V curve of the solar photovoltaic array.
Since traditional controllers do not always operate at the maximum power point, energy is wasted.
Solar Charge Controller Performance
The evaluation of the performance of the solar charge controller can mainly be considered from three aspects: reliability, easy maintenance and charging efficiency. A solar charge controller with good quality, safety and reliability, and not easy to malfunction is obviously an effective guarantee for the overall performance of the solar system. In particular, the stability of key settings such as battery charge and discharge voltage control points is directly related to the safety and life of the battery.
A solar charge controller with a clear structure and easy to repair after failure can also improve the performance of the solar system from another aspect.
The energy consumption of the solar charge controller and excellent charging strategy directly affect the the charge efficiency.
The high-efficiency solar charge controller can increase the input rate of solar modules, thereby increasing the overall performance of the solar system.
Solar Controller Wiring
Step 1: Connect the Battery
Warning: Short circuit between the positive and negative terminals of the battery and the wires connected to the positive and negative poles may cause fire or explosion! Please operate carefully!
Before connecting the battery, make sure the battery voltage is higher than 6V to start the controller. If the system is 24V, ensure that the battery voltage is not lower than 18V.
When installing the fuse, pay attention that the distance between the fuse and the positive terminal of the battery is 150mm.
Step 2: Connect the Load
Warning: Short circuit between the positive and negative terminals of the battery and the wires connected to the positive and negative poles may cause fire or explosion! Please operate carefully!
Before connecting the battery, make sure the battery voltage is higher than 6V to start the controller. If the system is 24V, ensure that the battery voltage is not lower than 18V.
When installing the fuse, pay attention that the distance between the fuse and the positive terminal of the battery is 150mm.
Step 3: Connect the PV Panels
Warning: Risk of electric shock!
The photovoltaic array may generate very high voltage, so be careful to prevent electric shock when wiring. The controller can be applied to 12V, 24V off-grid solar modules, and also can use grid-connected modules whose open circuit voltage does not exceed the specified input voltage. The voltage of the solar modules in the system must not be lower than the system voltage.
Step 4: Check the Connection
Check all the connections again to see if the positive and negative poles of each terminal are correct, and whether the 6 terminals are tightened.
Step 5: Confirm Power is On
Check all the connections again to see if the positive and negative poles of each terminal are correct, and whether the 6 terminals are tightened.
Measures to Prevent Lightning Strikes
To prevent lightning strikes, we must first understand the path of thunder and lightning intrusion into the power system. Generally, there are three ways of thunder and lightning intrusion: direct lightning, induced thunder and lightning wave intrusion.
Direct lightning refers to lightning strikes that fall directly on the solar cell array, low-voltage distribution lines, electrical equipment and their wiring, etc., as well as nearby. The peak current of direct lightning strikes is about 50% below 15-20kA, and lightning strikes in the range of 200-30OkA can also be observed. As the energy of such a lightning strike is very large, the installation of lightning rods is a measure to prevent direct lightning strikes.
There are two types of Induction thunder: Thunder formed by electrostatic induction and thunder formed by electromagnetic induction.
The lightning formed by electrostatic induction is formed by thunderclouds. For example, the positive charge induced by the cable and the surface charge generated by the lightning strike are neutralized to form a lightning surge.
The lightning formed by electromagnetic induction is caused by the lightning current generated by the lightning strike that falls near the cable to induce the cable to form a lightning surge.
One end of the solar charge controller is connected to the battery, and one end is connected to the solar cell array. Since the battery is installed indoors in the building, as long as the building is equipped with building lightning protection measures in accordance with the building regulations, the battery is basically not likely to be struck by lightning. Therefore, the side of the solar charge controller connected to the battery does not require special lightning protection measures.
The solar cell array is installed outdoors in the open air, the photovoltaic module frame is generally made of aluminum, and the PV installation bracket is generally a steel structural member, which greatly increases the possibility of lightning strikes.
In order to prevent direct lightning from hitting the solar cell array, the photovoltaic installation site should be equipped with lightning rods, which should be reliably grounded so that the lightning current can enter the ground safely and quickly.
In order to ensure the safety of electrical equipment, the grounding of the lightning rods should be protected by the electrical equipment. Separate the ground and maintain a sufficient safety distance.
In order to prevent the hazards caused by induced lightning, the photovoltaic cable should be equipped with a metal bridge frame and be reliably grounded. The photovoltaic field controller should have a closed metal shell and be reliably grounded, and at the same time ensure the equipotential connection of the grounding point.
In order to prevent the harm caused by lightning waves invading people, the solar controller should install lightning protection devices at the entrance of the photovoltaic inlet and be reliably grounded, such as Varistors or lightning protection modules.
Final Words
This post is a definitive guide of solar charge controller with objective opinion, I want give some subjective opinion though. The MPPT controller use the newest technology and the technology developing very fast. Although the price is more expensive then PMW types, it is cost-effective to use, especially for large PV systems. So MPPT controller is the best solar charge controller. And I have anther post about solar applacation of solar street lights buying guide, you can read it for more solar knowledge. Please subscribe us to get more newest technical insight.

Judy Deng
A blogger interested in solar and LED lighting. He studies how to make people's lives greener and more environmentally friendly. Also served as a faculty member for non-profit organizations.
